


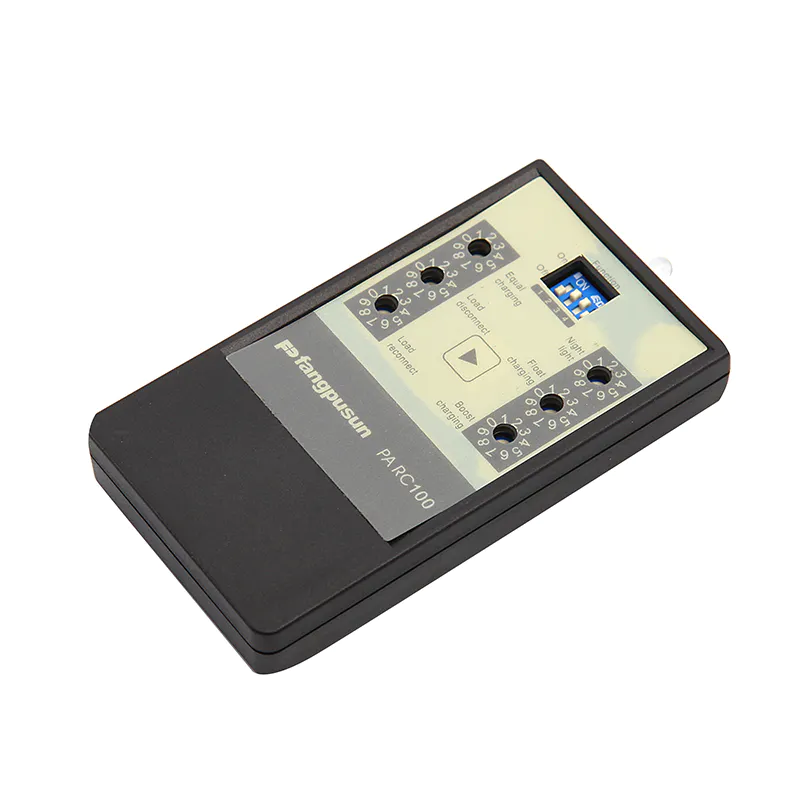
Fangpusun Solar Remote control
这里可以自定义设置

01.
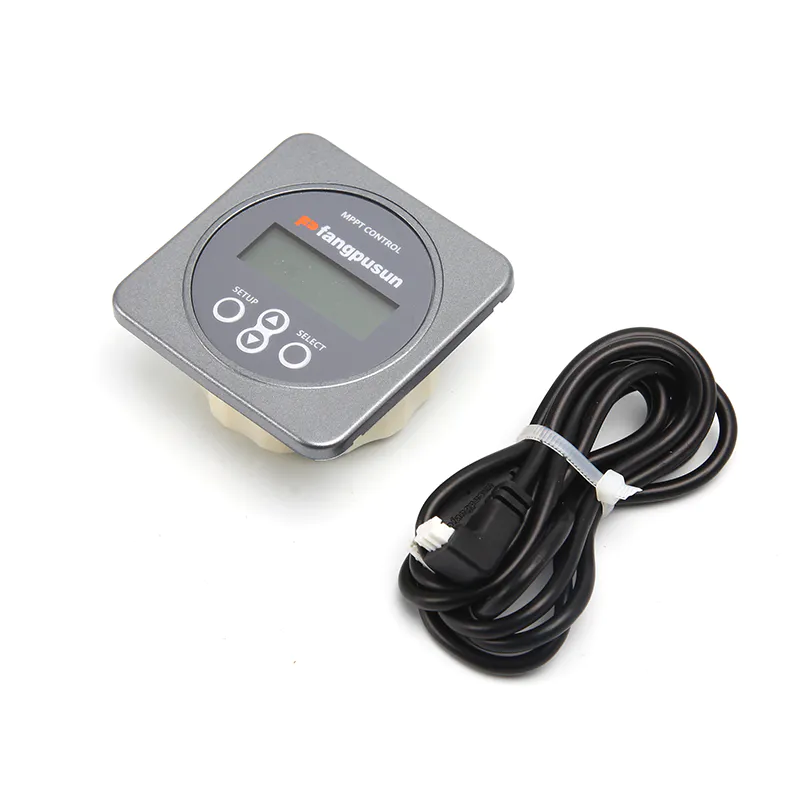
MPPT Control
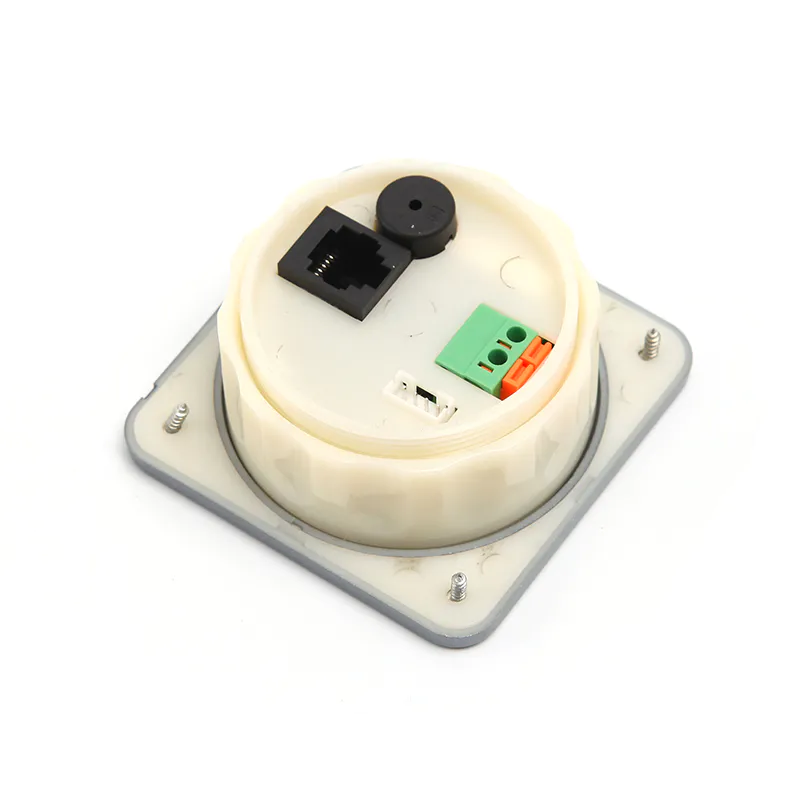
Power cable with inline fuse
Wiring the supplied power cable is only necessary when the used MPPT is an MPPT 75/50, 100/50 or 150/35, and its part number starts with SCC01. These earlier versions shut down at night. In this case, use the fused power cable to power the MPPT Control straight from the battery. This way, the MPPT Control stays powered while the MPPT is off, and the last received status, history and settings of the MPPT can be viewed when the sun is down.
Wiring this power cable is not necessary for all other models, neither for the SCC02 or later versions of the three mentioned models.
Communication cable
Connect the MPPT Control to the Fangpusun MPPT Charge Controller with a VE.Direct cable.Note that this cable is not included and needs to be purchased separately.
Wall mount enclosure
Optional wall mount enclosures are available to easily mount the MPPT control on a wall, instead of flush mounted through a panel. See our website for more information: http://www.fangpusun.com .
| MPPT Control | |
| Supply voltage range | 6,5 - 95 VDC (Battery powered) |
| 5V (VE.Direct powered) | |
| Current draw, back light off | <4 mA |
| Operating temperature range | -20 - +50°C (0 - 120°F) |
| Supported MPPTs | |
| Models | All models with VE.Direct port, except the |
| BlueSolar MPPT 70/15 | |
| Software version | All software versions >= 1.12 |
| INSTALLATION & DIMENSIONS | |
| Installation | Flush mount |
| Front | 63 mm diameter |
| Front bezel | 69 x 69 mm |
| (2.7 x 2.7 inch) | |
| Body diameter | 52mm |
| (2.0 inch) | |
| Body depth | 31mm |
| (1.2 inch) | |
| ACCESSORIES | |
| Cables (included) | cable with fuse for battery powered |
| operation | |
Buttons and display
| SETUP | Cancel / back | ||
| SELECT | Select / confirm | ||
| Change item or value | |||
| On | There is a connection with the MPPT. | ||
| Blinking | There was a connection with the MPPT but the connection is lost. | ||
| The last know values will be shown. | |||
| Off | There has not been a connection with a MPPT. | ||
Navigation Status
The MPPT Control starts in the status menu. This shows the current status of the MPPT. By pressing the up and down button, one can switch between the following values:
By pressing SELECT in the status menu, the history menu is entered. Here, the history stored in the MPPT can be viewed. This contains both overall history and well as a day to day history. For MPPTs with software version up to 1.15, only a few history topics are available and the day to day history contains 2 days: the current day and the previous day. For MPPTs with software version 1.16 and onwards, this is a 30 day history.
When viewing values, one can select a different day by pressing the up and down button. The MPPT Control will first show the value for a short time, then the currently selected day, and then the value again. When viewing an overall history value, pressing the up or down button will cause the MPPT Control to show "TOTAL".
Pressing SETUP causes the MPPT Control to go back to the status menu topics when viewing topics or go back to the topics menu when viewing values.
The topics are listed in the table below. Only topics marked with a * are visible in case of 2 day history.
| Overall topics | |
| TOTAL YIELD* | The cumulative yield since the last history reset |
| MAX PANEL VOLTAGE | The maximum panel voltage since the last history reset |
| MAX BATTERY VOLTAGE | The maximum battery voltage since the last history reset |
| MIN BATTERY VOLTAGE | The minimum battery voltage since the last history reset. |
| (Only available for MPPT software version>= 1.17) | |
| LAST ERRORS | The last 4 errors since the last history reset. |
| The number of blocks in the lower right of the screens determines | |
| which error is currently shown with 1 block being the latest and 4 blocks being the oldest. | |
| Daily topics | |
| YIELD* | The daily yield |
| MAX POWER* | The maximum power per day |
| MAX PANEL VOLTAGE | The maximum panel voltage per day |
| MAX BATTERY CURRENT | The maximum battery current per day |
| MAX BATTERY VOLTAGE | The maximum battery voltage per day |
| MIN BATTERY VOLTAGE | The minimum battery voltage per day |
| BULK TIME | The time spend in bulk per day |
| ABSORPTION TIME | The time spend in absorption per day |
| FLOAT TIME | The time spend in float per day |
| LAST ERROR | The last 4 errors per day |
| The number of blocks in the lower right of the screens determines | |
| which error is currently shown. | |
By pressing SETUP for 2 seconds in the status menu, the settings menu is entered. Here, the settings of the MPPT and MPPT Control can be viewed and changed. First the topic is shown and when SELECT is pressed, the corresponding value is shown.
When SELECT TO EDIT is OFF, the value is shown before it can be changed by pressing SELECT again. When SELECT TO EDIT is ON, the current value is shown and a new value can immediately be selected. When LOCK SETUP is ON, settings only be changed after setting LOCK SETUP to off.
When editing a value, one can change its value by pressing the up and down buttons. When changing numeric values, pressing SELECT will go to the next digit, until the last digit. In this case, pressing SELECT will save the setting. When editing non numeric values, pressing SELECT will save the setting.
Pressing SETUP causes the MPPT Control to go back to the status menu topics when viewing topics or go back to the topics menu when viewing values.
The settings are listed in the table below. See the manual of the MPPT for the exact meaning of the settings.
Copyright © 2021 Wenzhou Xihe Electric Co., LTD| All Rights Reserved


Product Message